How to Braid Pie Crust
Rating
0 out of 5 stars
(0)
Ingredients
How would you rate this recipe?
Preparation
Step 1
Quality Pie Dough: Start with quality pie dough that’s sturdy, strong, and tastes good! Don’t sabotage your efforts with sub-par dough. Use cold fats. In the summer months, even suggest beginning with cold flour. Stick the bowl of flour + salt in the freezer for 30 minutes before adding the fats.
Step 2
Roll it Out: Roll out the pie dough on parchment paper. When rolling out pie dough, go slow. Always start from the center and work your way out in all directions, turning the dough with your hands as you go. If the edges are cracking, smooth them out with your fingers. Warm or room temperature pie dough is impossible to braid; it must be cold.
Step 3
Cut into Thin Strips: Use a pizza cutter to cut into narrow strips. I suggest no more narrow than 1/4 inch and no wider than 1/2 inch. Somewhere between the two is your sweet spot.
Step 4
Braid the Pie Crust: Take 3 strips aside. Pinch/meld the tops together. Begin braiding.
Step 5
Decorate Your Pie: Use the braided strips as decoration for your pie.
Step 6
Save recipe for the next time?
Chef's notes
Cold Pie Dough:
Keep all of the pie dough you aren’t directly working with in the refrigerator.
Have Extra Pie Dough:
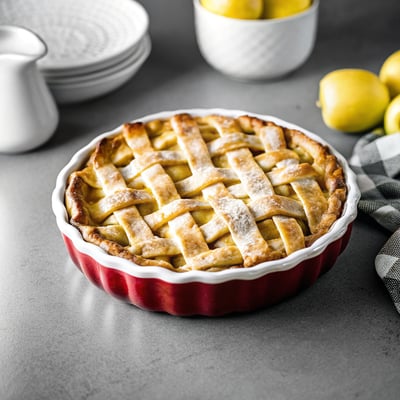
Braiding uses a lot of pie dough, so for a lattice design like you see in these pictures and video, have a 3rd pie crust handy.
Two Hands:
Always pick up the braids with two hands because they’re delicate and fragile.
Extra Flour:
Keep flour on hand to lightly dust the work surface and your hands.
Easily Fix Any Tears:
If a strip tears as you are braiding, just mold it back together with your fingers.
Make Room:
Give yourself a lot of room to work.