Fudge Chocolate Pastry Tarts (Like Pop Tarts!)
Total Time
4 hours, 10 minutes
Prep Time
3 hours, 30 minutes (includes dough chilling)
Cook Time
25 minutes
Rating
4.8 out of 5 stars
(199)
Ingredients
9 pastry tarts
- 2 and 1/4 cups (281g) all-purpose flour (spooned & leveled)
- 1/4 cup (21g) unsweetened natural or dutch-process cocoa powder, plus more as needed for rolling
- 2 Tablespoons (24g) granulated sugar
- 1/2 teaspoon salt
- 1 cup (16 Tbsp; 226g) unsalted butter, very cold and cubed
- 1/2 cup (120ml) cold whole milk
- Egg wash: 1 egg beaten with 1 Tablespoon (15ml) milk
- 4 ounce (113g) semi-sweet chocolate bar, coarsely chopped
- 1/4 cup (60ml) whole milk
- 2 Tablespoons (25g) granulated sugar
- 1 Tablespoon (14g) unsalted butter, cold and cubed
- 1 teaspoon pure vanilla extract
- 1 Tablespoon (14g) unsalted butter
- 2 Tablespoons (30ml) water
- 1 cup (120g) confectioners’ sugar
- 2 Tablespoons (10g) unsweetened natural or dutch-process cocoa powder
- 1 teaspoon pure vanilla extract
- Optional: sprinkles for garnish
How would you rate this recipe?
Preparation
Step 1
Make the dough first: Place the flour, cocoa powder, sugar, and salt into a large 8-cup capacity or higher food processor or, if you don’t have a food processor, in a large bowl. Pulse or whisk until combined. Add butter and pulse or use a pastry cutter to manually cut in until coarse pea-sized crumbs form. In 3 additions, pour in the milk and pulse or stir after each addition. After all the milk is added, pulse or stir more until the dough clumps up and comes together. If it’s too dry, add 1 Tablespoon (15ml) of cold milk. Try not to overwork the dough. Pour onto a work surface lightly dusted with cocoa powder or all-purpose flour. Use your hands to form dough into a ball. Divide the dough in half and flatten each into 1-inch thick discs. Wrap each disc tightly in plastic wrap and refrigerate for 2 hours and up to 5 days.
Step 2
Make the fudge filling soon after you prepare the dough: The fudge filling needs to cool and thicken, so that is why I recommend making it soon after you put the pastry dough in the refrigerator. Place chocolate, milk, and sugar in a medium saucepan over medium heat. Stir frequently as chocolate melts and mixture combines. Once melted, remove from heat and stir in the butter and vanilla extract. Pour into a heatproof bowl, cover, and set aside at room temperature to cool and thicken.
Step 3
Line 1 large baking sheet with parchment paper or a silicone baking mat. Make sure there is enough room in your refrigerator for the baking sheet because the shaped pastry pop tarts must chill for 15 minutes before baking.
Step 4
Roll out the chilled pie dough: Remove 1 of the dough discs from the refrigerator and let it sit at room temperature for 10 minutes to slightly warm up because it will be quite solid. Lightly dust a work surface, rolling pin, and your hands with cocoa powder or all-purpose flour. Using a rolling pin, roll the dough into a 9×12-inch rectangle. Use gentle force with your rolling pin and use your hands to help keep the edges straight. Trim the edges of the rectangle to straighten if needed. Cut rectangle into 3 equal strips and cut those into thirds for a total of 9 3×4-inch rectangles. Arrange the dough rectangles 2 inches apart on the prepared baking sheet and chill in the refrigerator as you roll out 2nd half of dough.
Step 5
Roll out the 2nd half of dough and cut into 9 3×4-inch rectangles like you did with the 1st half of dough.
Step 6
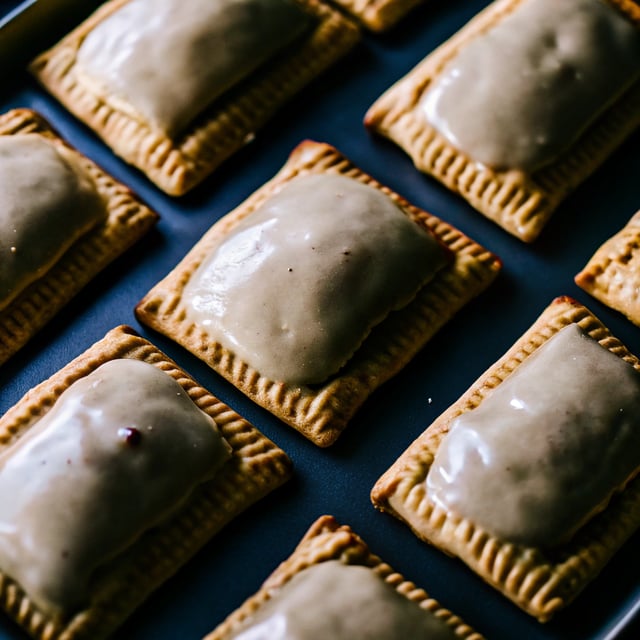
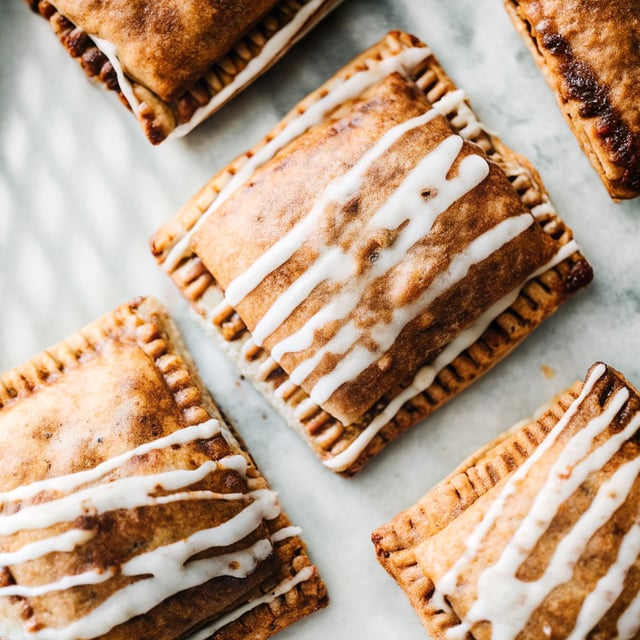
Assemble the pastry tarts: Remove 1st set of dough rectangles from the refrigerator. Using a pastry brush, brush edges of each of these 9 rectangles with egg wash. Spoon a heaping Tablespoon of filling into center of each. Lay the other set of pie dough rectangles on top of each and press your finger around the edges to slightly seal. Poke holes in the top pie crust with a fork or toothpick and then crimp with a fork to ensure no filling spills out. Refrigerate the shaped pastries uncovered for at least 15 minutes and up to 3 hours.
Step 7
Meanwhile, preheat oven to 375°F (191°C).
Step 8
Brush pastry tarts with egg wash and bake for 25-26 minutes or until edges appear set. Remove from the oven and allow pastries to cool for 5 minutes before transferring to a wire rack to cool completely. Pastries taste best after completely cooling—they are very soft and rich when warm.
Step 9
Make the icing: In a medium saucepan over low heat or in a medium heatproof bowl using the microwave, warm butter and water together until butter has melted. Whisk mixture with the remaining icing ingredients. Cool icing for 15 minutes before spooning onto pastries. You can add the icing when the pastries are still warm, but again, they taste best after completely cooling. Immediately top with sprinkles, if using.
Step 10
Cover and store pastries at room temperature for up to 1 day or in the refrigerator for up to 1 week.
Step 11
Save recipe for the next time?
Chef's notes
Make Ahead & Freezing Instructions:
You can make the pie dough up to 5 days in advance, see step 1. You can also make the fudge filling up to 1 day in advance. Cover and refrigerate and when ready to use, heat in the microwave for just a few seconds to slightly thin out. You can assemble and refrigerate the pastries for up to 3 hours, see step 6. Baked and cooled pastries (with or without glaze) freeze well for up to 3 months. Thaw and heat in the microwave if desired. Do not heat in a toaster.
Special Tools (affiliate links):
Food Processor (8 cup capacity or higher; in the video I use a super large 14-cup KitchenAid food processor) or Pastry Cutter | Glass Mixing Bowl | Rolling Pin | Sharp Knife or Pizza Cutter | Pastry Brush | Baking Sheet | Silicone Baking Mat or Parchment Paper.
Chocolate:
For the best results, use a 4 ounce “baking chocolate” bar found in the baking aisle. I prefer Bakers or Ghirardelli brands. You can use semi-sweet or even milk chocolate. Bittersweet makes a VERY dark and rich filling, so keep that in mind if you use a very dark chocolate. We have not tested it with white chocolate, so we can’t guarantee results. You can also use chocolate chips and 2/3 cup (about 120g) would be the best amount to use.
Milk:
For best taste and texture, whole milk is ideal in the filling and pie crust. You can use lower fat or non dairy milk if needed, but avoid any milk that is fat free.