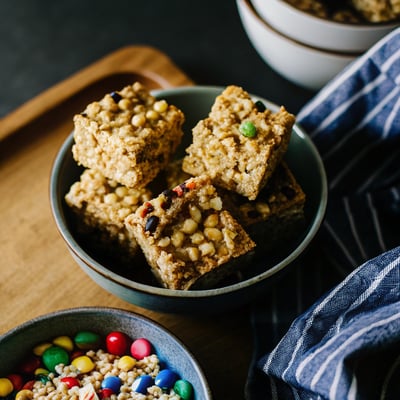
Family-Favorite Rice Krispie Treats Recipe
Total Time
1 hour, 15 minutes
Prep Time
10 minutes
Cook Time
5 minutes
Rating
4.8 out of 5 stars
(141)
Ingredients
20 treats
- 3/4 cup (170g; 12 Tbsp) unsalted butter
- two 10-ounce bags (566g; 11 heaping cups) mini marshmallows
- 1/2 teaspoon pure vanilla extract
- pinch salt
- 9 cups (270g) crispy rice cereal
How would you rate this recipe?
Preparation
Step 1
Line a 9×13-inch baking pan with parchment paper. Lightly grease the parchment. I always use a very light mist of nonstick spray. Set aside.
Step 2
Melt the butter over medium heat in a very large pot. Once melted, add the marshmallows. Stir the mixture until the marshmallows are completely melted.
Step 3
Remove from heat, then immediately stir in the vanilla extract and salt. Finally, fold in the cereal. Make sure each piece of cereal is coated with the marshmallow mixture.
Step 4
Transfer mixture to prepared pan. Using a silicone spatula (greasing it lightly helps), gently spread mixture to fit the pan. Lightly grease the back of a flat spatula and very gently press the mixture down into the pan. Do not pack it down with force, just lightly press down until it is secure in the pan.
Step 5
Allow treats to set for at least 1 hour at room temperature, and up to 1 day. Cover tightly if leaving out for more than a few hours.
Step 6
Lift the rice krispie treats as a whole out of the pan using the edges of the parchment paper. Cut into squares.
Step 7
Cover and store leftover treats at room temperature for up to 3 days. To store, place in an airtight container, with sheets of parchment or wax paper between layers.
Step 8
Save recipe for the next time?
Chef's notes
Freezing Instructions:
Rice krispie treats aren’t the best dessert to freeze because the texture isn’t always completely the same after thawing. That being said, you can still freeze these squares. Freeze in layers between sheets of parchment or wax paper in a freezer-friendly container for up to 2 months. Thaw at room temperature before serving.
Special Tools (affiliate links):
9×13-inch Baking Pan | Parchment Paper | Large Pot (such as a Dutch Oven) | Silicone Spatula | Flat Spatula
If gluten free, check labels to ensure all products are certified gluten free.
For the pinch of salt, I always add a little less than 1/8 teaspoon.
Adapted from Kellogg’s