Classic Tiramisu
Total Time
30 minutes + Overnight Chill
Prep Time
30 minutes
Rating
5 out of 5 stars
(5)
Ingredients
9 slices
- 7 oz package crispy ladyfingers, regular or gluten free
- 1 1/2 cups (350g) hot water
- 6 tbsp (27g) instant espresso powder*
- 1 tbsp granulated sugar
- 2 tbsp amaretto (optional, but very delicious)
- 5 large egg yolks
- 1/2 cup (100g) granulated sugar
- 16 oz mascarpone, chilled (I use BelGioioso)
- 1/4 tsp kosher salt
- 2 tsp vanilla bean paste, or vanilla extract
- 3/4 cup (180g) heavy cream
- Unsweetened cocoa powder, for dusting
How would you rate this recipe?
Preparation
Step 1
Fill a medium saucepan with about 2 cups of water and bring to a simmer over medium high heat.
Step 2
While that heats, add the instant espresso and granulated sugar to a shallow dish.
Step 3
When the water reaches a simmer, measure out 1 1/2 cups and then pour the hot water over the espresso and sugar. Stir to combine then mix in the amaretto if using. Set aside.
Step 4
To the same saucepan, fill with about an inch or two of water and place over medium heat.
Step 5
Now choose a mixing bowl that’s heat-safe and can sit over the saucepan without touching the water.
Step 6
To that bowl, whisk together the egg yolks and sugar.
Step 7
Place over the pot of simmering water (make sure it never reaches a boil), and continuously whisk until the sugar is fully dissolved (about 8-10 minutes). Test by rubbing a tiny amount between your fingers. If you can no longer feel any granules, it’s ready.
Step 8
Remove the bowl from the heat and place inside a larger bowl filled with ice. Continue whisking until the mixture is completely cooled. Alternatively, you can simply transfer the bowl to the refrigerator to cool.
Step 9
In a separate mixing bowl, add the mascarpone, salt, and vanilla bean paste. Using an electric mixer, mix until smooth.
Step 10
Now with the mixer running, slowly pour in half of the heavy cream. Once combined, stop and scrape down the bowl and then continue mixing in the rest of the cream.
Step 11
Once it’s well combined, crank the mixer up to high speed and whip for about 2 minutes or until thick and fluffy.
Step 12
Scoop half of the whipped mascarpone into the cooled bowl of egg yolks and use a whisk to fold to combine.
Step 13
Once smooth, scoop in the rest of the mascarpone and fold to combine.
Step 14
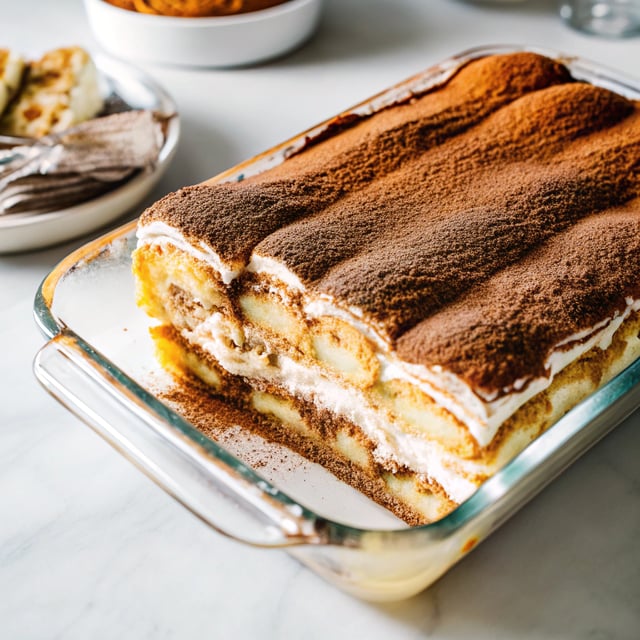
For assembly, very quickly dunk the ladyfingers into the coffee soak and arrange in the bottom of an 8×8 pan.
Step 15
Spread on half of the mascarpone filling and then arrange another layer of dunked lady fingers on top.
Step 16
Finish with a layer of the remaining mascarpone and spread even. Cover the pan with plastic wrap and chill overnight.
Step 17
The next day, remove the plastic wrap and if it left any texture on the surface just spread it smooth.
Step 18
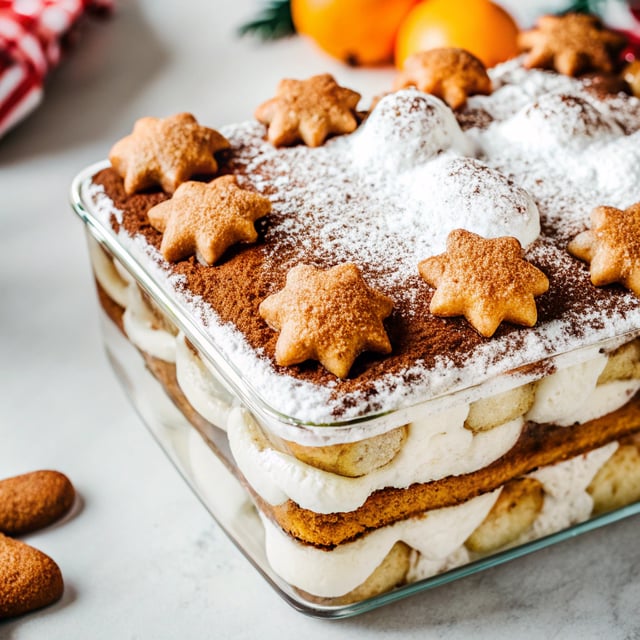
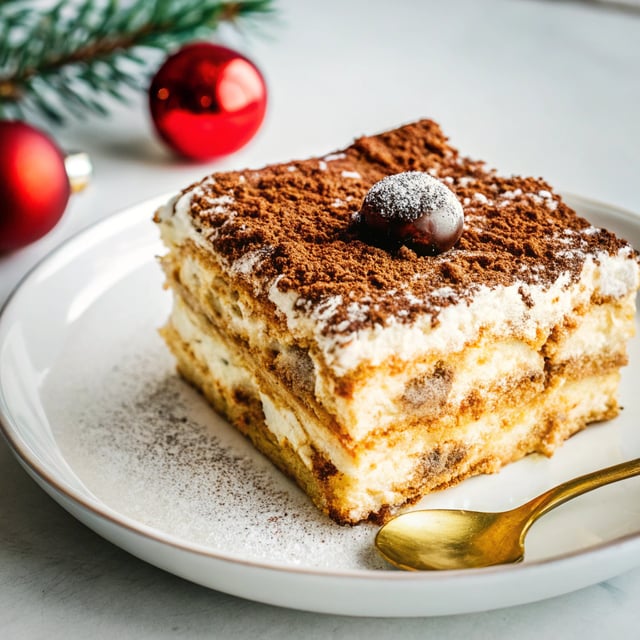
Top with a dusting of cocoa powder and enjoy! This tiramisu has a silky smooth texture that can either be scooped out or sliced onto neat squares.
Step 19
Save recipe for the next time?
Chef's notes
*ESPRESSO:
Instant espresso definitely provided the best flavor for this tiramisu. I tried a strong brew of medium roast coffee as well, but it just didn’t pack a punch in flavor. That being said, you’re welcome to use your favorite coffee if you prefer.
**MASCARPONE:
I tested this recipe with a couple different mascarpone brands and found that BelGioioso produced the best consistency. The others contained a bit more water and thus a softer tiramisu filling. Definitely still delicious, but created more of scoopable tiramisu rather than stable slices.
9X13 OPTION:
This follows all of the same instructions as above.