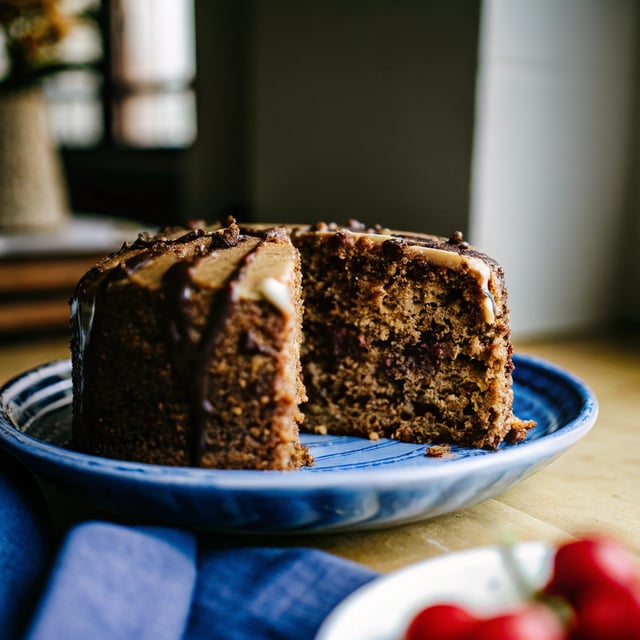
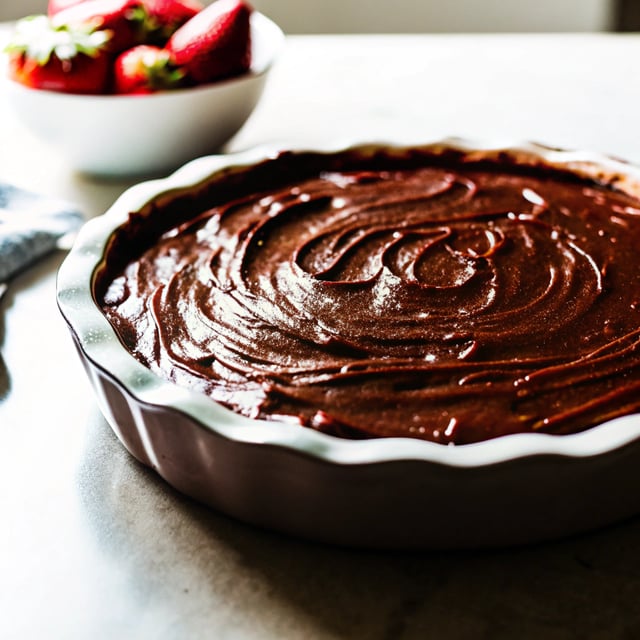
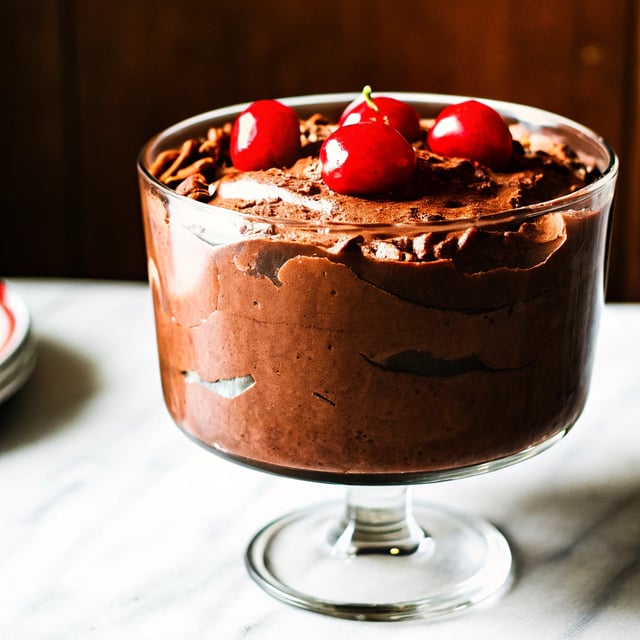
Chocolate Mirror Glaze
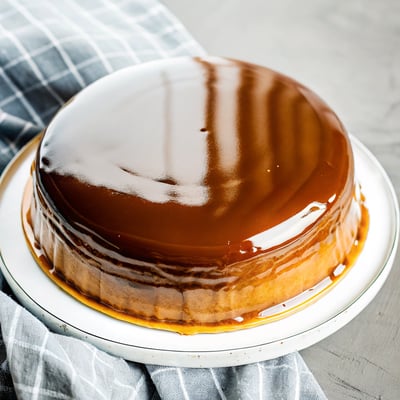
Total Time
1 hour
Prep Time
1 hour
Rating
4.98 out of 5 stars
(46)
Ingredients
12 servings
- 1 x 20cm / 8" chocolate cake (2 layers) (Note 1)
- 2 batches Dark Chocolate Ganache (Note 2)
- 2 1/2 tbsp water (just cold tap water)
- 4 tsp gelatine powder (Note 3)
- 2/3 cup water
- 2/3 cup cream (, pure / regular whipping cream, better than thickened/heavy cream (Note 4)
- 1 cup cocoa powder (, unsweetened, sifted (preferably dutch processed, Note 5)
- 1 cup + 2 tbsp white sugar (, caster/superfine (Note 6)
- Gold dust and gold leaf (, optional decorations (Note 7)
How would you rate this recipe?
Preparation
Step 1
Cake and Ganache Frosting preparation:
Step 2
Refrigerate cake layers for at least 1 hour until well-chilled (for easier handling). Then trim cake to make it level and frost cake with chocolate ganache so it's smooth and level (follow the tutorial in this post: How to Frost Cakes Smoothly).
Step 3
After the ganache is smooth and level, refrigerate for at least 1 hour before coating with Mirror Glaze.
Step 4
Make Mirror Glaze:
Step 5
Bloom gelatine: Place water in a small bowl. Then sprinkle gelatine across surface, mix just so all the powder is wet. Leave for 5 minutes - it will become like a rubber consistency. (This is called "blooming gelatine".)
Step 6
Whisk cocoa and water: Place cocoa and water in a medium saucepan then mix until virtually lump-free. It will be like a paste.
Step 7
Add cream and sugar: Add a splash of cream to cocoa mix and stir. It will loosen up. Add remaining cream and sugar, then GENTLY continue to mix to combine. Do not mix vigorously and do not use a whisk (Note 7).
Step 8
Bring glaze to boil: Turn stove onto medium high heat. As soon as it comes to the boil, remove from the stove.
Step 9
Dissolve gelatine: Add gelatine lump, then GENTLY stir until it dissolves and you have a smooth glossy glaze. (There may be some white foam, that's ok.)
Step 10
Cool & Strain Mirror Glaze:
Step 11
First straining: Using a shallow bowl and small fine mesh strainer, strain the glaze into a bowl. Pour and position the strainer so the glaze falls the smallest distance possible. If you pour from a height, this creates bubbles = bad!
Step 12
Bubble check: Twist the bowl back and forth between your hands rapidly. This will make any bubbles rise and gather in the centre. If you see bubbles, see "Note 8: Bubble Troubleshooting".
Step 13
Cool glaze: Cover with cling wrap, pressing the cling wrap onto the surface of the glaze to prevent a skin from forming. Cool on the counter for 2 hours until it reaches 30°C/86°F. See Note 9 for overnight refrigeration.
Step 14
Second straining: Just before pouring over the cake, strain the glaze into a jug. As before, tilt the jug and strainer as you pour the glaze in to minimise the distance the glaze falls.
Step 15
Glazing!
Step 16
Transfer cake to rack: Remove cake from fridge, transfer onto a rack. (See Note 9 for how I do it.) Place rack on a tray to catch excess glaze.
Step 17
Pour over mirror glaze: Starting at the centre of the cake, pour the glaze on, moving in an expanding spiral motion gradually towards the outer edge of the cake, to make the glaze spread across the surface and drape like curtain down the sides. For the most perfect surface, try to do it in one motion without breaking the pour. Pour with confidence in a thick stream rather than a thin drizzle (which might set too quick and leave drips).
Step 18
Ensure all sides are fully coated - if not, quickly do a little pour down the sides to coat the naked patches.
Step 19
Transfer cake to platter: Before the mirror glaze sets (takes ~10 minutes), move the cake to a cake platter (Note 9 again for my cake-shifting method).
Step 20
Fix blemishes - Use excess glaze on the tray and in the jug to fill gaps and tears. Then smooth over with a warmed palette knife (either lightly warm with a blow torch or dip into warm water and wipe). See video for demo.
Step 21
How to Slice Cake Cleanly with Neat Layers:
Step 22
Fill a tall jug with warm tap water. Dip a knife in, then wipe dry. Make one slice into the cake.
Step 23
Clean knife, dip in warm water and dry again. Make your second cut to get your wedge. Pull wedge out and marvel at the perfect layers before continuing to cut more slices! See notes for storage.
Step 24
Save recipe for the next time?