Gluten-Free Sourdough Starter
Total Time
12 hours and 5 minutes
Prep Time
5 minutes
Rating
4.62 out of 5 stars
(39)
Ingredients
1 serving
- 2 tablespoons sorghum flour
- 2 tablespoons brown rice flour
- 1/4 cup filtered water (chlorine-free preferably )
- 2 tablespoons sorghum flour
- 2 tablespoons brown rice flour
- 1/4 cup filtered water (chlorine-free preferably )
- 1/4 cup gluten-free all purpose flour (with or without xanthan gum)
- 1/4 cup filtered water (chlorine-free preferably )
How would you rate this recipe?
Preparation
Step 1
Day 1
Step 2
Combine flour and water. Let ferment.
Step 3
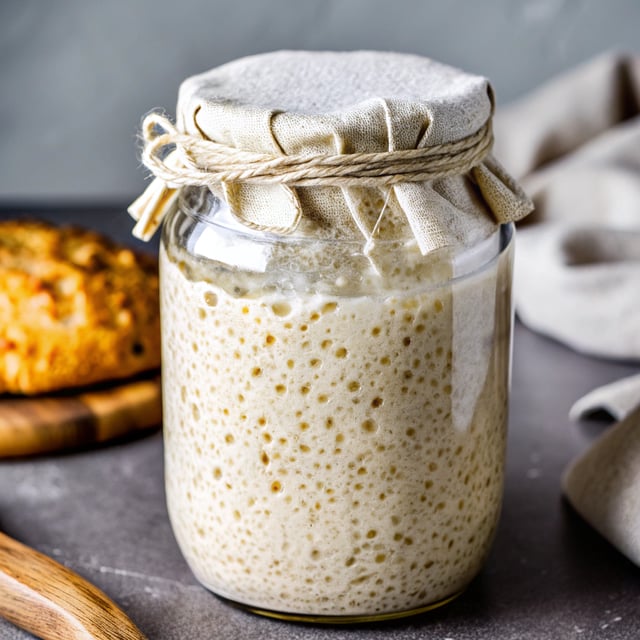
In a clean glass jar or bowl add sorghum flour, brown rice flour and water. Stir with a wooden or plastic spoon to combine (metal reacts). Loosely cover with a lid or cloth and let sit at room temperature for 12 hours.
Step 4
Day 2
Step 5
Add more flour and water. Let ferment.
Step 6
After 12 hours, add another round of sorghum flour, brown rice flour and water. Stir to combine with a wooden or plastic spoon. Loosely cover and let sit at room temperature for 12 hours longer.
Step 7
Day 3-Until Ready
Step 8
Combine a portion of starter with fresh flour and water. Let ferment. Repeat until active.
Step 9
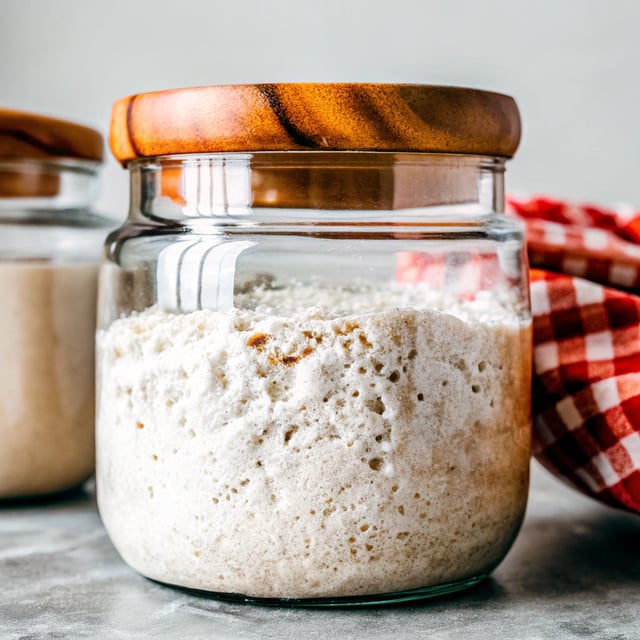
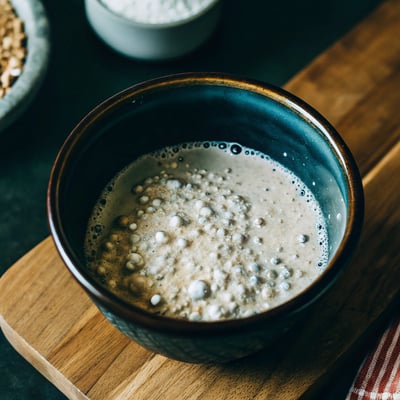
On day 3, place 2 tablespoons of the sourdough starter into another clean glass jar or bowl. To this add all-purpose flour and water. Stir well with a wooden or plastic spoon. Cover loosely and let sit for 12 hours. After this, check your starter for signs of being active and ready. If it has doubled in size, has nice air pockets throughout and has a pleasant sour aroma, it is probably ready to go. Otherwise, repeat the steps for Day 3 until the starter is ready. (See post above for lots of tips, tricks, signs to look for, as well as ways to use the the starter portions you discarded).
Step 10
Enjoy!
Step 11
Use and enjoy.
Step 12
Once your starter is ready you can use it right away in any sourdough recipes you would like or you can store it in the fridge in an airtight container until ready to use. If storing, refresh your starter before use by repeating the steps for Day 3 one time before use. (Learn more in the FAQs section in this post). Enjoy!
Step 13
Save recipe for the next time?