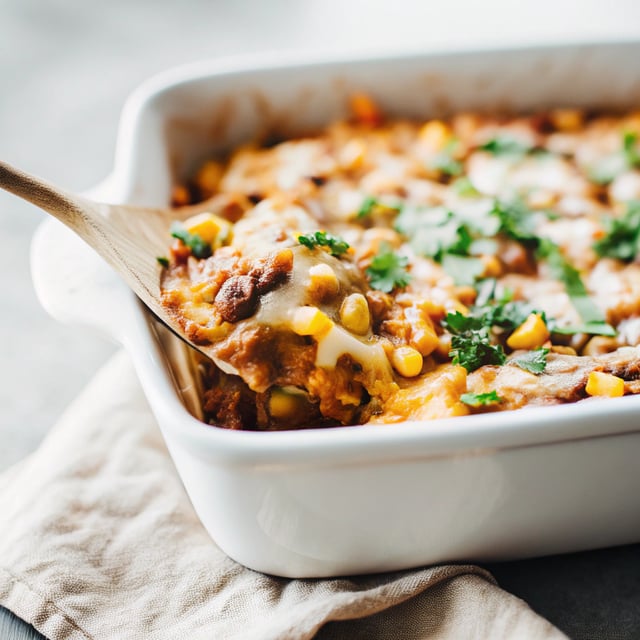
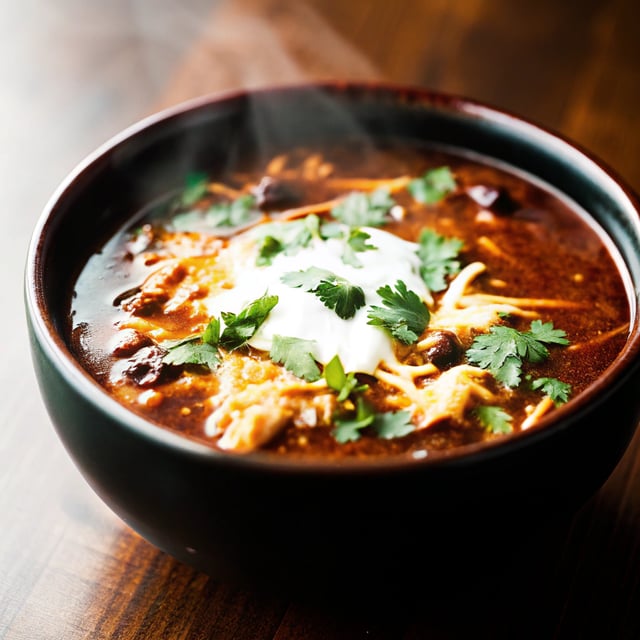
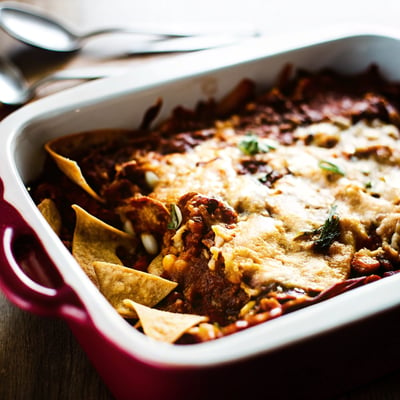
Chicken Enchilada Casserole
Total Time
50 minutes
Prep Time
20 minutes
Cook Time
30 minutes
Rating
4.8 out of 5 stars
(140)
Ingredients
About 8 servings
- 1 tablespoon olive oil
- 1 medium white onion, peeled and diced
- 1 large red bell pepper, cored and diced
- 1 (4 ounce) can diced green chiles
- 2 (15 ounce) cans beans, rinsed and drained (one can pinto, one can black beans)
- 1 (8 ounce) can whole kernel corn, drained
- 3 cups (about 1.5 pounds) shredded or diced cooked chicken
- 3 cups red enchilada sauce, homemade or store-bought, divided
- 12 corn tortillas, halved
- 3 cups shredded Monterrey Jack or Mexican blend cheese
- toppings: chopped fresh cilantro, diced red onion, thinly-sliced green onion and/or diced avocado
How would you rate this recipe?
Preparation
Step 1
Heat oven to 375°F. Mist a 9×13-inch baking dish with cooking spray; set aside.
Step 2
Heat oil in a large sauté pan over medium-high heat. Add onion and bell pepper and sauté for 6-7 minutes, or until softened. Stir in the diced green chiles, beans, corn, chicken and 2 cups enchilada sauce, and stir to combine. Remove from heat and set aside.
Step 3
Pour about 1/2 cup of the remaining enchilada sauce in the baking dish, and spread until the bottom of the dish is evenly coated. Top with a layer of about 8 tortilla halves, so that the entire dish is covered. Top evenly with 1/3 of the chicken mixture, followed by 1/3 of the cheese. Repeat with another layer of tortillas, chicken mixture, and cheese. Followed by a final layer of tortillas, chicken mixture, the remaining 1/2 cup of enchilada sauce, and cheese.
Step 4
Cover the pan with aluminum foil, then bake for 20 minutes.
Step 5
Remove pan and remove aluminum foil. Uncover and bake for 10 more minutes, until the cheese is thoroughly melted.
Step 6
Remove from the oven and serve warm, garnished with your desired toppings.
Step 7
Save recipe for the next time?
Chef's notes
*To make this recipe gluten-free, double check the labels of all ingredients to ensure that they are certified gluten-free.
*This recipe was originally published in April 2014, and updated in July 2018.